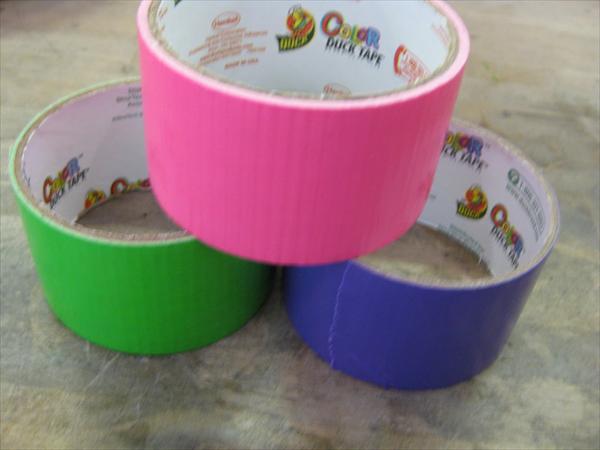
Braid looks beautiful either on hair, or fashion jewelry. Therefore the coming idea is about making a braided bracelet with duct tape. Following this convincing idea will take you making artistic bracelet with duct tape. Gather the material: some colorful taps (may be pink, purple and green), the scissors, and the Velcro as an option. For this idea, the S-shaped craft-wire made clasp is used.
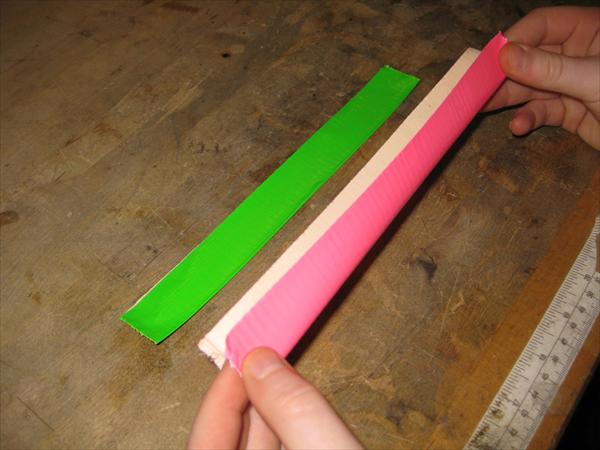
First step: Use measuring gauge to measure and cut the duct tape according to the wrist size. Usually a 6-inch bracelet is prepared cutting a 7-1/2 inch of tapes for a child’s wrist. But you can take it as general measure that if you are cutting the tape for your own wrist then take the extra tape space of 1-1/2 inch for binding/overlapping. Measure the three colors duct tape equal in sizes.
Second step: Fold the tapes in half (or you can fold from both ends too).
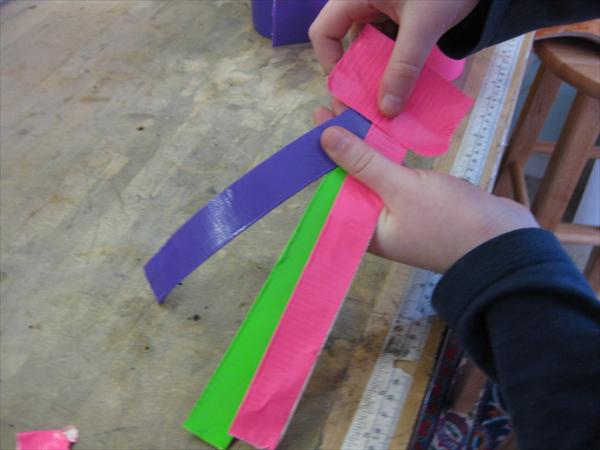
Third step: Bind the edges of purple, green and pink tapes from one end with piece of duct tape but in a way that one color tape is little inside and second color duct tape is a little much. So that the other end of edges have the same length ends. In our case binding is with pink, you can alter the colors.
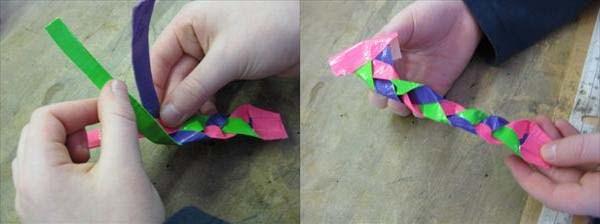
Fourth step: start making braid of these taps, unless you reach at the end. Tape it too.
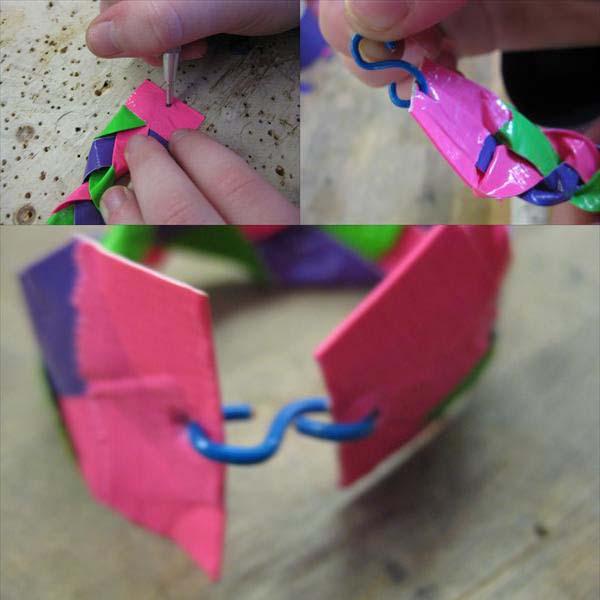
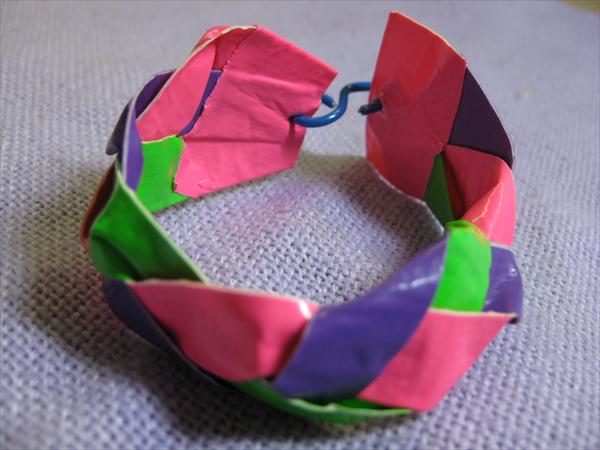
Fifth Step: make a hole on both ends and attach the S-Shaped clasp. This clasp can also be of different craft-wire colors.
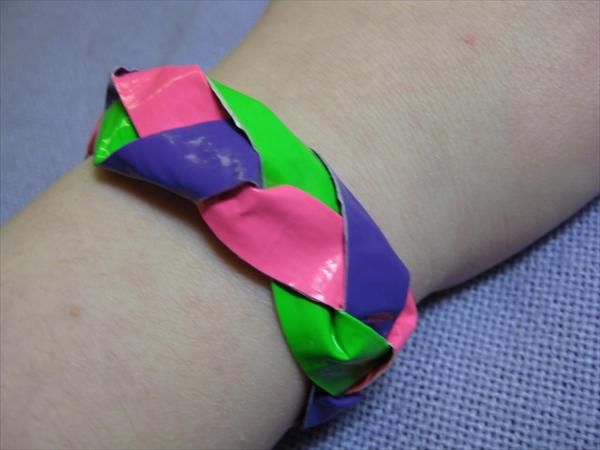
Take a final look of ready to wear braided duct tape bracelet.
You can also call it zig zag duct tape bracelet.
Here is another duct tape bracelet: DIY Studded Duct tape Bracelet
Happy Duct tape Crafts!!!


 DIY Studded Duct tape Bracelet