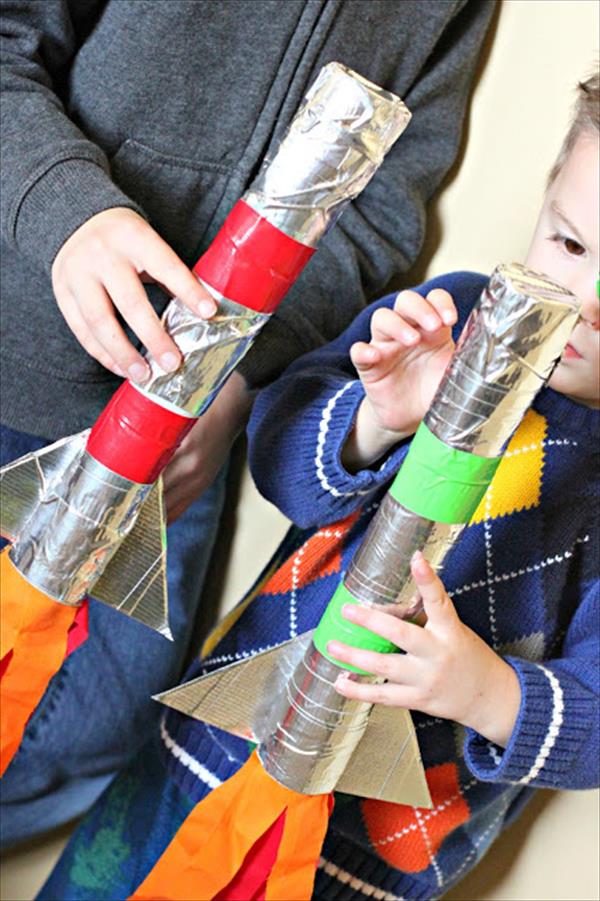
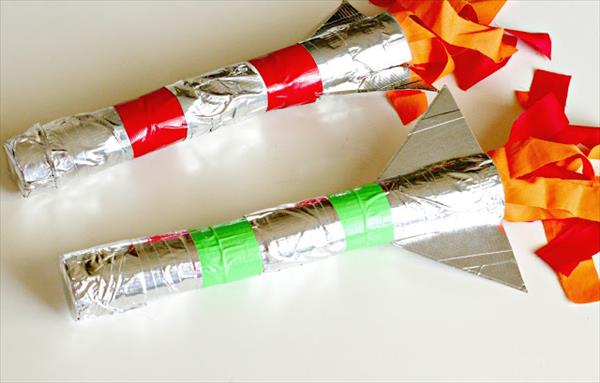
The boys wanted to make some diy fun rockets and we set about trying to figure out how to go about it. After some experimentation, this is what we came up with; duct tape rockets. For this diy duct tape project you need:
- Paper roll tubes
- Cardboard
- Scissors or cutters
- Crepe paper or fabric
- The magic ingredient: duct tape!
We are ready to start the construction and assembly of our rocket. This is how we did it.
- For the body tube of the rocket, connect three paper roll tubes and stick them with tape. Cover the tube with white or silver duct tape.
- Cut two triangles to make the fins and cover these with duct tape. Your duct tape rocket is almost complete.
- Nick the bottom of the tube where you will join the triangles. Cut slits on the longer side (usually known as the hypotenuse) of the triangle near the edge. Fit the triangle by sliding both nicks into one another.
- Cut strips of the orange, yellow, and red crepe paper of any other fabric. Glue these to the bottom socket to make the thrust impression. Your rocket is now ready.
- If you want to make a nose cone, draw and cut a sphere. Add a nick from the perimeter to the centre and overlap the two edges to make a cone. Attach this to the top of the body tube to make the nose cone.
The DIY duct tape rocket is ready for launching!!!


 Kids Craft Tutorial: Duct Tape Paper Cup Shark